Gel pedicures are expensive when done in nail salons. Instead, learn gel pedicure steps without wasting your money and time in nail salons. In today’s guide, I’ll tell you the gel pedicure steps and how it’s done at home. Make sure you also check out the unique benefits of gel pedicures in the end.
What Is A Gel Pedicure?
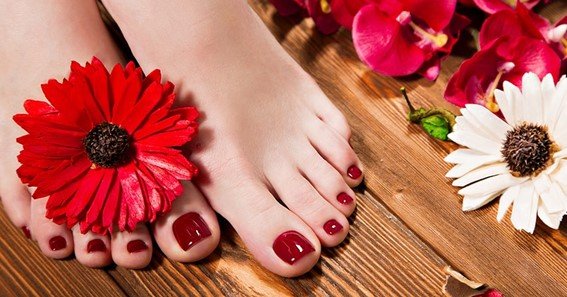
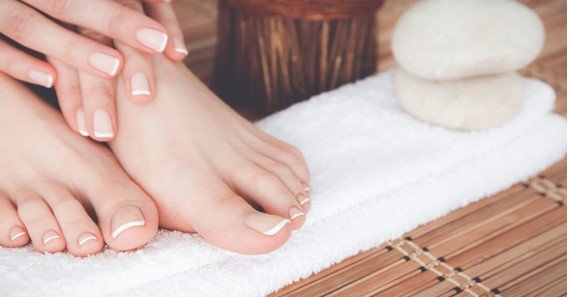
Just like a gel manicure, a gel pedicure involves foot pampering and gel polish application on toenails. It is a pedicure type where each toenail is painted with a layer of base coat, gel polish, and top coat. This pedicure will help you to get high-shine, glossy nails that’ll last for several weeks.
It is easy to get chip-free toenails by doing gel pedicures at home without damaging your nail beds. You can keep on reading to learn gel pedicure steps and do this pedicure at home!
Also Read : What Is A Shellac Manicure And How Long Does It Last?
Gel Pedicure Steps
In this section, I’ll explain all the gel pedicure steps and the whole procedure in brief.
Step 1: Groom Your Toenails
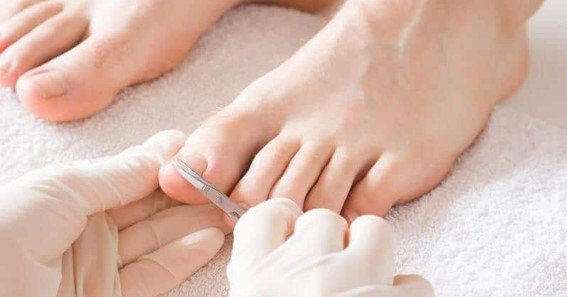
You can start the procedure by first grooming your toenails. Remove old nail polish if any by using nail polish removal pads. You have to now cut, file, and shape your toenails by using a nail cutter and nail filer.
Step 2: Clean Your Feet and Toenails
Once you are done prepping your toenails, it’s time to clean your feet and toenails. Prepare a foot bath for this by filling a tub with warm soapy water. You can also add Epsom salt or essential oils if needed. Allow your feet to soak in this water for at least 5 to 10 minutes. After a while, wash your feet and toenails thoroughly to remove all dirt and debris.
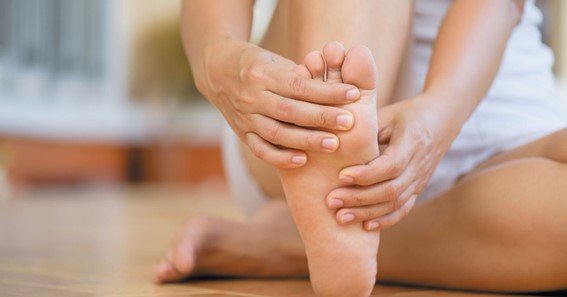
Step 3: Exfoliate Your Feet
Soaking your feet in warm water will loosen dead skin cells and soften rough patches. A gentle foot exfoliation will help you to get rid of dead skin and rough patches. You can even use a pumice stone or foot filer to remove calluses.
Step 4: Push Back and Trim Your Cuticles
After exfoliation, wash your feet and focus on your cuticles. Gently push back the cuticle using a cuticle pusher. Carefully trim the dead cuticle skin with a cuticle trimmer.
Step 5: Buff The Nail Beds
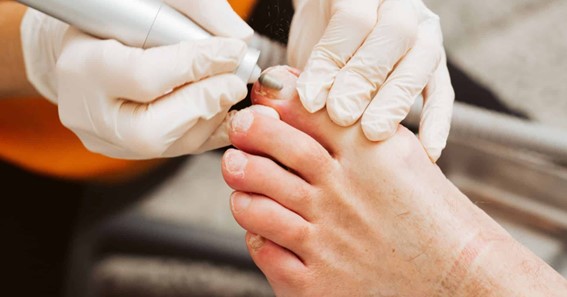
It’s time to buff your nail beds after finishing up with the cuticles. You can either use a nail buffer or an electric drill to buff your nails and get a smooth base. Now, pour some acetone on cotton pads and rub them over each toenail to dehydrate them. Dehydrating toenails is very important as this helps in smooth gel polish application.
Step 6: Apply Base Coat
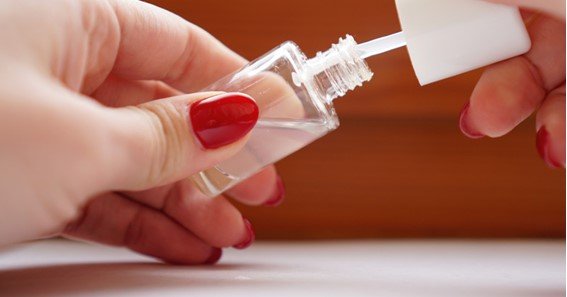
Apply a thin, even layer of clear gel base coat on dry nails. Now, place your toenails under the UV light or LED lamp for 30 sec to cure the gel base coat. Remember your gel base coat is only cured when it becomes hard.
Step 7: Apply Gel Polish

Apply one to two layers of gel nail polish of your choice over the base coat. Again, place your toenails under the UV light or LED lamp for 45 sec to cure the gel polish. You can apply and cure the third layer of gel polish for opaque and intense color.
Step 8: Appy Top Coat

Seal and protect your gel nails by applying a layer of gel top coat over gel polish. Once again, place your toenails under the UV light or LED lamp for 45 sec to cure the top coat. You can also clean any leftover residue or imperfections by using rubbing alcohol.
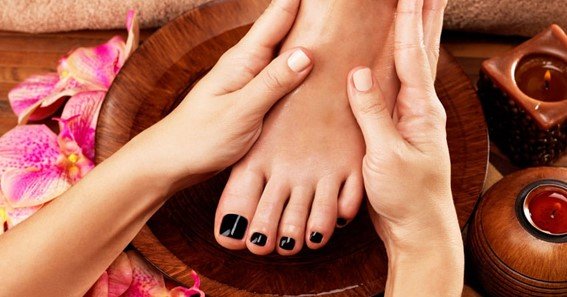
Step 9: Apply Cuticle Oil and Moisturizer

To complete the pedicure, apply cuticle oil all over your toenails. Cuticle oil will not only strengthen but also improve the overall health of your toenails. Make sure you even apply some moisturizer to keep your skin hydrated.
The process of gel pedicure is a bit lengthy and will take approximately 60 to 70 min to complete. However, you can consume more time if you want to do nail art on gel nails.
Knowing the gel pedicure steps is not enough. There is a separate procedure for gel nail polish removal as this nail polish won’t come off that easily. You can keep on reading if you want to remove gel polish from your toenails.
Also Read : What Are The Disadvantages Of A Pedicure You Must Know
Steps To Remove Gel Polish
It’s not compulsory to visit a nail salon to remove gel polish. Just like you applied gel polish at home, you can even remove gel polish at home.
You can follow these gel pedicure steps to safely remove gel nail polish from your toenails.
- Remove Top Coat

Remove the top coat from your toenails by buffing your nails using a 180-grit nail file. You can also use an electric nail file to remove the top coat. No matter which tool you use, make sure you are gentle during the process.
- Use Acetone Soaked Balls

Pour some acetone into a bowl and soak 10 cotton balls in acetone. Now, carefully place one acetone-soaked cotton ball on each toenail.
- Wrap Nails With Aluminium Foil

Next, cut long strips of aluminum foil and wrap them around each toenail along with acetone-soaked cotton balls. Check whether your toenails are fully covered with these wraps and leave them for 20 to 40 minutes.
- Remove Gel Polish Using A Cuticle Stick

After 20 to 40 min, remove all nail wrappings and lift the gel polish using a cuticle stick. Make sure you don’t apply too much pressure to remove the polish.
- Apply Cuticle Oil On Clean Nails

Once the gel polish is completely removed from your toenails, you must wash your feet with warm soapy water. Pat dry your toenails and massage cuticle oil around your toenails to restore hydration.
Henceforth, gel nail polish removal requires a lot of time than regular polish. Make sure you have plenty of time if you still want to remove gel polish at home. You can check out this gel nail polish removal tutorial for reference.
Keep on reading further to quickly have a look at the benefits of gel pedicures.
Benefits Of Gel Pedicures
Many women prefer getting gel pedicures mainly because of their benefits. Below I’ve listed all the benefits of gel pedicures you must know.
- Gel pedicures will give you long-lasting results in a single session.
- Gel nail polish lasts longer on the toes with proper care.
- Your gel polish will remain chip-free for several weeks as it is cured under a UV or LED light.
- Gel pedicures involve a quick drying process so you don’t have to wait until your nail polish dries.
- This pedicure won’t harm your nails as it is often removed by nail technicians.
- You get a lot of varieties in gel polish like glitter, metallic, and more.
To Conclude
Thus, gel pedicures will give you healthy feet with gel nails and will last for several weeks. You can easily do a gel pedicure for yourself at home by using these simple gel pedicure steps along with the right tools.
FAQ
Which Tools Are Required For Gel Pedicure?
For a gel pedicure, you will need a tub, warm soapy water, a nail grooming kit, any foot exfoliator, and moisturizer. You’ll also need a clear base coat, gel polish, and top coat for painting your toenails.
Can I Air-Dry Gel Nails?
No, you cannot air-dry your gel nails as this nail polish requires a UV or LED light to dry.
What To Do After Getting A Gel Pedicure?
After getting a gel pedicure, frequently apply cuticle oil onto your toenails to keep your skin and nails healthy.
What Are The Risks Of Removing Gel Nails At Home?
Removing gel nails at home can make your nails prone to thinning and breaking. You may also suffer from ingrown nails, broken skin, and swelling.